How to Make Videos with Claude Code (No Video Editor)
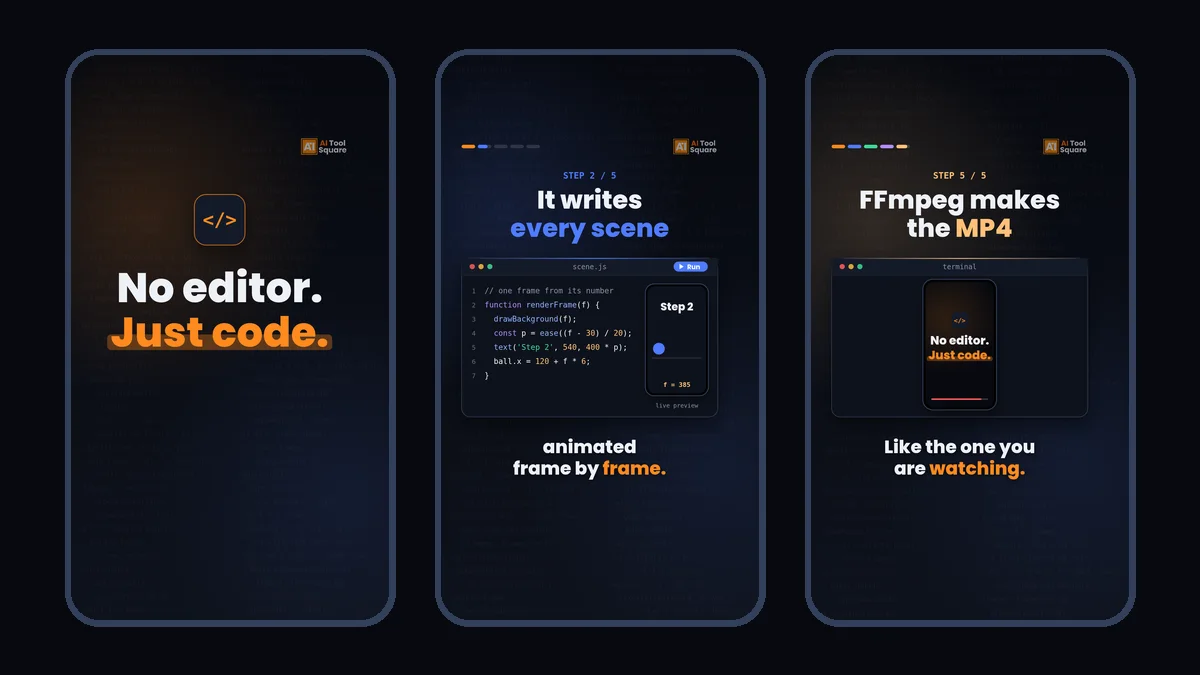
To make videos with Claude Code, you do not open a video editor. You describe the video, Claude Code writes a small program that draws every frame, a headless Chrome browser saves those frames as images, and FFmpeg joins them with a soundtrack into an MP4. It works best for animated explainers, text-led Shorts and Reels, product walkthroughs and data animations, not for filmed footage.
The 35-second Short below was made exactly this way, voice and music included. Every step in this guide comes from building it.
What you need
- A Claude plan that includes Claude Code. Claude Code is not part of the Free plan; Pro and the higher plans include it (prices below).
- Node.js, to run the renderer and the audio script.
- Google Chrome or Chromium, which Puppeteer drives without a window.
- FFmpeg. If you would rather not install it, the
ffmpeg-staticnpm package ships a ready-made binary. - Optional: Python, for a local text-to-speech voice such as Kokoro.
You do not need to know how to code, but you do need to be comfortable typing commands in a terminal and reading what Claude Code proposes before you approve it.
Two ways to build it: Remotion or plain code
Most “Claude Code video” tutorials use Remotion, a framework for making videos with React. The video above uses a lighter route: one HTML page with a canvas, Puppeteer and FFmpeg. Both work with Claude Code.
| Remotion | Plain canvas + Puppeteer + FFmpeg | |
|---|---|---|
| What you get | A full video framework with a preview studio, captions and rendering tools | A few small scripts in your own folder |
| Claude Code support | Official Agent Skills (npx skills add remotion-dev/skills) | No setup; Claude Code writes plain JavaScript |
| Licence | Free for individuals and companies of up to 3 people; bigger companies need a paid licence | Puppeteer, FFmpeg and Kokoro are free and open source |
| Best for | Teams making many videos, templates and video apps | One-person channels and full control of every frame |
If you are on your own or in a small team, both routes are free. The rest of this guide follows the plain route, because it shows what is happening at each step; the same ideas apply in Remotion.
Step 1: Set up a folder and start Claude Code
Install Claude Code with the command from its quickstart (on macOS and Linux: curl -fsSL https://claude.ai/install.sh | bash), then open a terminal in an empty folder and start it:
mkdir my-video && cd my-video
claude
The first time, it asks you to sign in with your Claude account in the browser.
Step 2: Describe the video in plain English
Say what the video is about, how long it is, the format and the style. A useful first prompt:
Make a 35-second vertical video (1080x1920, 30 fps) that explains how to make videos with code.
Structure: a 2-second hook, five numbered steps of 6 seconds each, a 3-second outro with our URL.
Dark background, orange highlights, the Poppins font. Add a voiceover, word-by-word captions
and background music. Keep text out of the bottom 420 px and the right 130 px, where YouTube
Shorts puts its buttons.
Draw every frame on an HTML canvas from its frame number, render the frames with Puppeteer and
encode them with FFmpeg. Show me a few still frames before you render the whole video.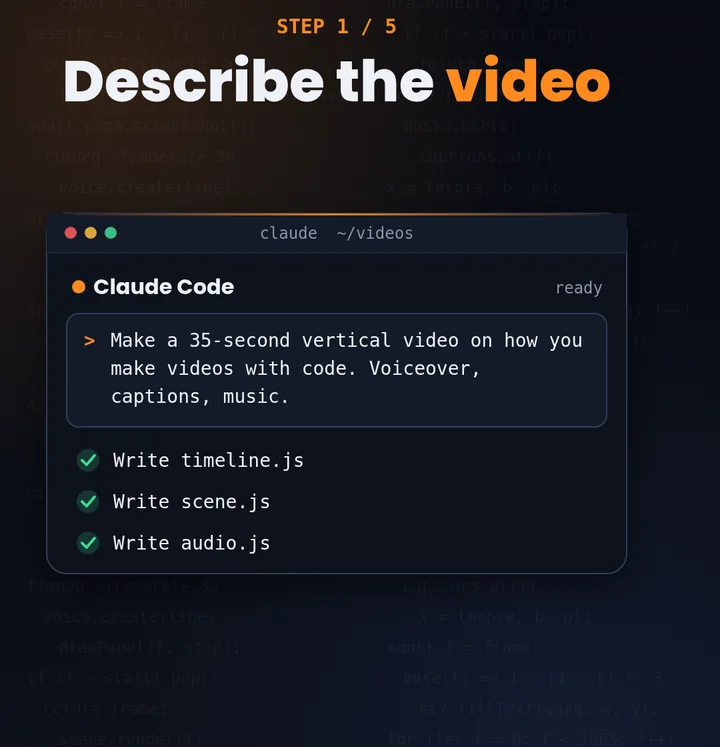
Claude Code then plans the files and writes them. In our project that meant timeline.js (timing, text and colours), scene.js (the drawing), render.js (the frame grabber), voice.py (narration) and audio.js (music and sound effects).
Step 3: Let it write every scene as code
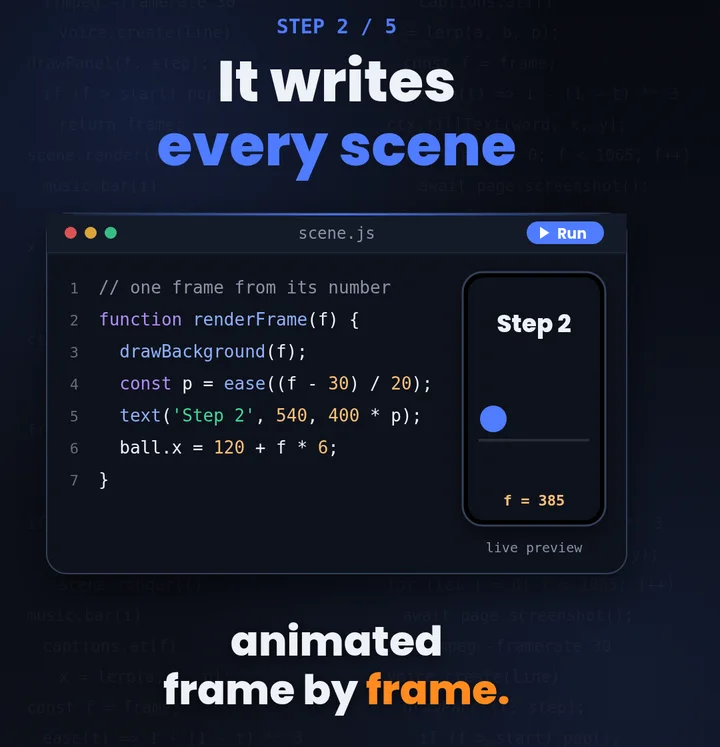
The key idea is that each frame is drawn from its number. A function receives frame 412, works out where every element should be at that moment and draws it. Nothing depends on the clock, so frame 412 always looks the same, and the video can be rendered in any order or in parallel.
// one frame from its number
function renderFrame(f) {
  drawBackground(f);
  const p = ease((f - 30) / 20); // 0 → 1 between frames 30 and 50
  text('Step 2', 540, 400 * p);
  ball.x = 120 + f * 6;
}
Ask Claude Code to keep all timing and wording in one file. Then “make step three shorter” or “change the hook” is a one-line edit, and the visuals, captions and sound effects all move together.
Step 4: Render the frames with headless Chrome
Puppeteer opens the page in Chrome without a window, calls renderFrame(f) for every frame and saves the canvas as a PNG. Our 35-second video is 1,065 frames; with six browser tabs working in parallel, our computer rendered them in about 36 seconds.
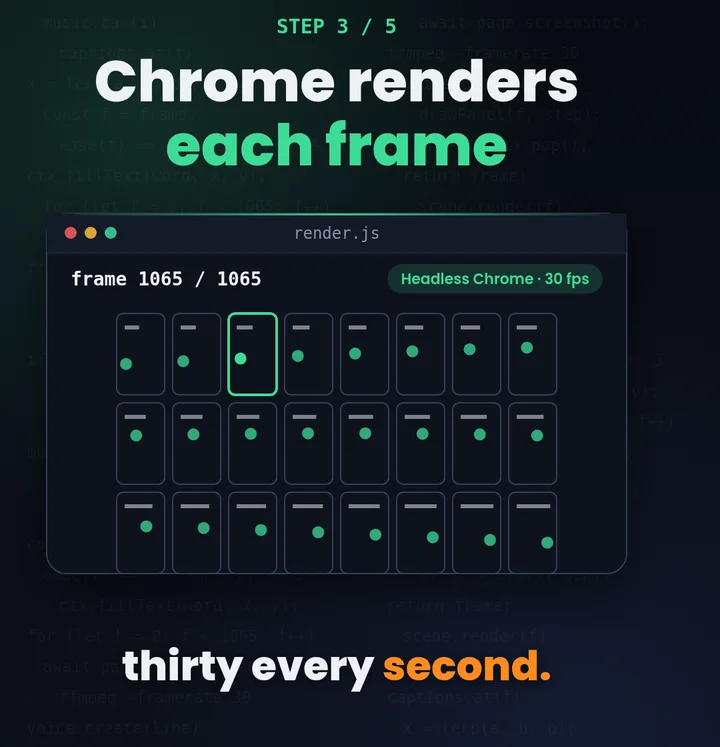
Before rendering everything, ask for a handful of stills, one from the middle of each scene, and look at them. It is much faster to fix a cramped title or a wrong colour on five images than on a finished video. We also had Claude Code write a check that runs after rendering: it records where every piece of text is drawn on every frame and fails if anything enters the areas covered by the Shorts interface or overlaps the logo.
Step 5: Add a voice and music
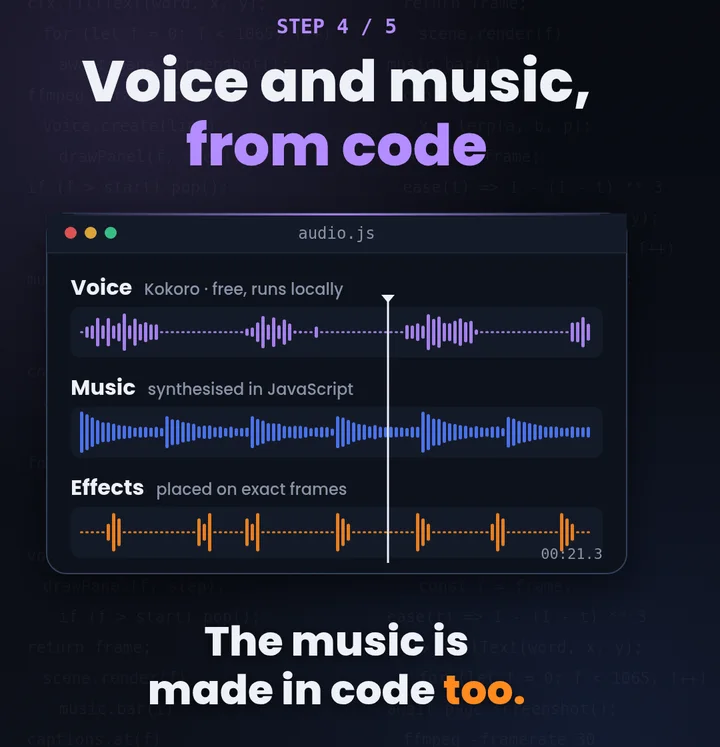
For the voiceover we used Kokoro, an open-weight text-to-speech model with 82 million parameters under the Apache 2.0 licence. It runs on your own computer, so there is no per-minute fee; version 1.0 lists 54 voices in 8 languages. Each narration line is placed on a frame number, and the script checks that every line ends before its scene does.
The music and sound effects in our video are generated by code as well: a short JavaScript synthesiser plays chords and drums on a 120 BPM grid, so every scene change lands on a bar line, and places clicks and pops on the exact frames where something appears. You can just as well drop in a royalty-free track or record your own voice; if you want a more natural voice than a local model, see our ElevenLabs review.
Add captions. Most people scroll Shorts and Reels with the sound off, so the narration should also be on screen, a few words at a time, with the word being spoken highlighted.
Step 6: Join frames and sound with FFmpeg
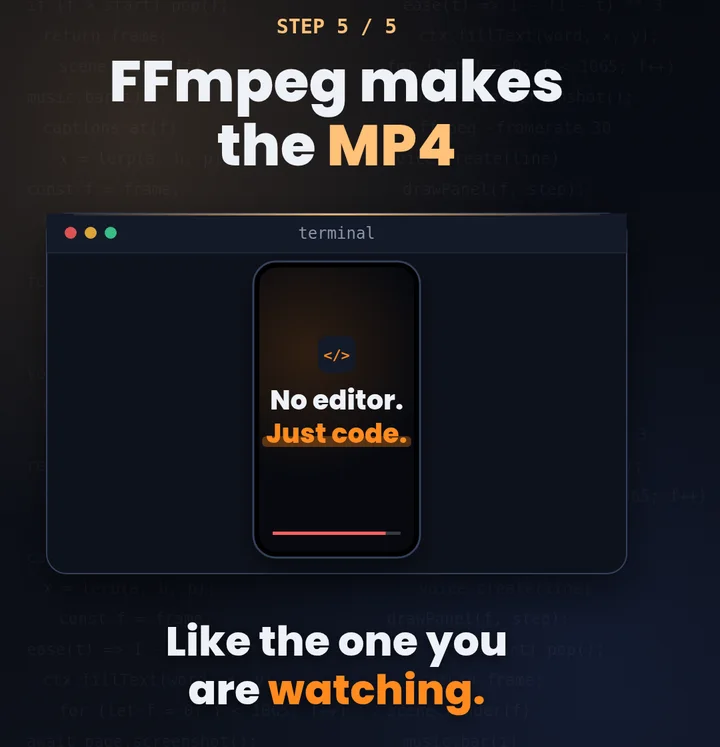
The last step is one FFmpeg command that reads the numbered PNGs and the WAV file and writes an MP4:
ffmpeg -framerate 30 -i frames/%05d.png -i audio.wav \
  -c:v libx264 -crf 17 -pix_fmt yuv420p \
  -c:a aac -b:a 192k -movflags +faststart -shortest video.mp4
-pix_fmt yuv420p makes the file play everywhere, and -movflags +faststart lets it start playing before it has fully downloaded. The whole pipeline sits in one build.sh, so after any change you run one command and get a new MP4 in a minute or two.
Tips and common mistakes
- Hook in the first second. Put the most surprising line on screen at frame 0, not after a logo animation.
- Keep text out of the overlay zones. The margins we use for Shorts and Reels: nothing important in the top 250 px, the bottom 420 px or the right 130 px of a 1080×1920 frame.
- Silent text slides do not hold attention. Before this video, we made a dozen feature videos for tool reviews with music only and no narration; they got very few views. Narration, captions and a topic people search for make the difference.
- No randomness without a seed. If the code calls
Math.random()or reads the time, two renders of the same frame differ and the video flickers. Ask for a seeded random function. - Wait for fonts. Make the page load its fonts before the first frame, or the opening frames use a fallback font.
- Turn it into a template. Once one video works, ask Claude Code to keep the pipeline and change only the timeline and the scene drawings. The next video is mostly a new script.
What it costs
As of November 2026, Claude Code needs at least the Pro plan: $20 a month billed monthly, or $17 a month billed annually ($200 a year). Max ($100 a month) and Ultra ($200 a month) include it too. Check the current plans on the Claude pricing page.
Everything else in this pipeline is free: Puppeteer, FFmpeg and Kokoro are open source. Remotion is free for individuals and companies of up to 3 people; larger companies need a licence, from $25 a month per seat for manual video creation (see Remotion’s pricing).
FAQ
Can Claude Code make videos from scratch?
Yes, as long as the video can be drawn: text, shapes, charts, interface mock-ups, screenshots and animation. It writes the code that draws each frame. It does not film or generate realistic footage; for that, use a video model such as Veo (see how to make short story videos with Google Veo in Flow).
Do I need to know how to code?
No, but it helps to read what Claude Code shows you and to ask for still frames before every full render. You describe changes in plain English (“make the captions bigger”, “move the logo to the right”).
Should I use Remotion?
Use Remotion if you want its preview studio, ready-made components and official Agent Skills, or you plan to build many videos from templates. For a single channel, a plain canvas page with Puppeteer and FFmpeg is less to learn and gives you every pixel.
Is this faster than a video editor?
For the first video, not always: you spend time describing and reviewing. From the second video on, you reuse the pipeline and change the script, which is where it saves time. If you mainly cut long recordings into clips, an editing tool is the better fit; see our list of the best AI tools for Shorts and Reels.
AI Tool Square is not affiliated with Anthropic, the maker of Claude Code, and this guide is not sponsored.